Deploy from BitBucket
Creating an application in ServerAvatar for hosting PHP scripts and projects with Git is simple. You can specify the application name, domain, system user, and other options such as PHP version and custom webroot. When choosing the deployment method, you can select "Git" to easily deploy your PHP code from a Git repository. Once the application is created, ServerAvatar will automatically clone the repository and deploy the code. You can manage the Git deployment process from the ServerAvatar dashboard. ServerAvatar makes it easy to create and manage PHP applications with Git.
Once you have connected your server with ServerAvatar, you can follow the steps below to install the Bitbucket repository on your server automatically.
Bitbucket integration
Step 1: First, you need to Integrate Git, Navigate to Dashboard → Integration → Git.
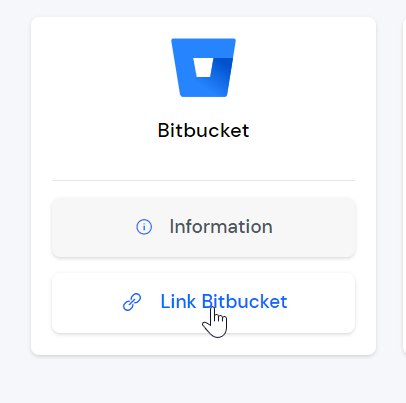
Step 2: Click on the Bitbucket Link Bitbucket button like the image below. After that, authorize serveravatar to deploy your project, and your Bitbucket account will be connected with serveravatar.
Step 3: Now, you can deploy a site from Bitbucket.
Create Application
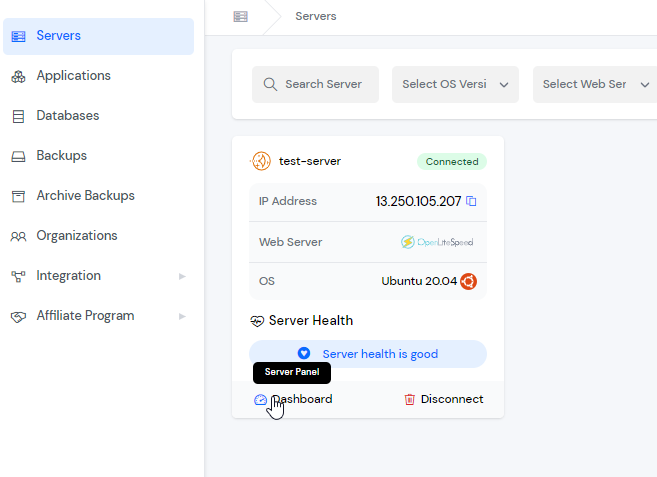
Step 1: Click the server on which you want to create the new application.
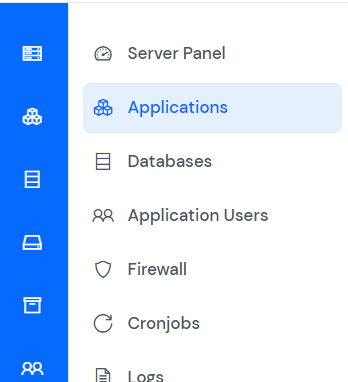
Step 2: Now, you will see the option Applications on the left-hand sidebar of the Server Panel. Click on Applications.
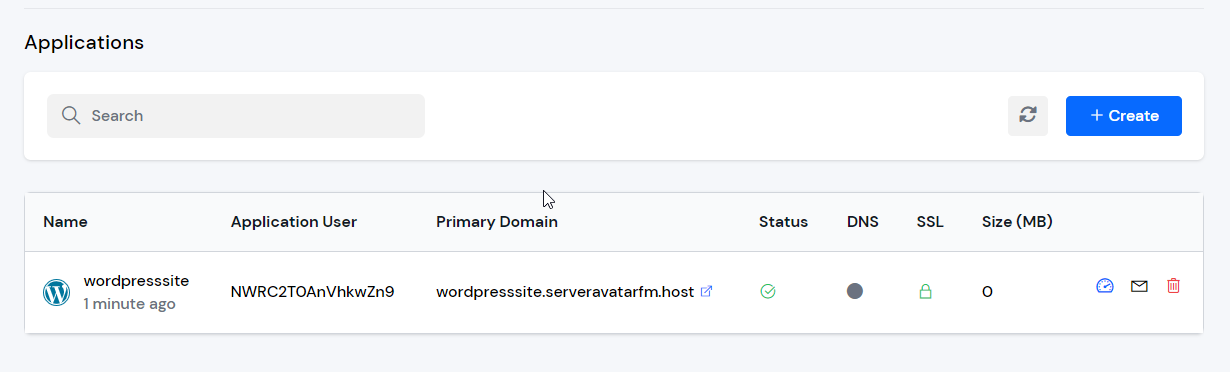
Step 3: Now, you will see the Applications table like the below image. Click on the Create button on the top right of the Applications table, as mentioned in the image below.
Step 4: After that, you will see the Create Application screen like the image below.
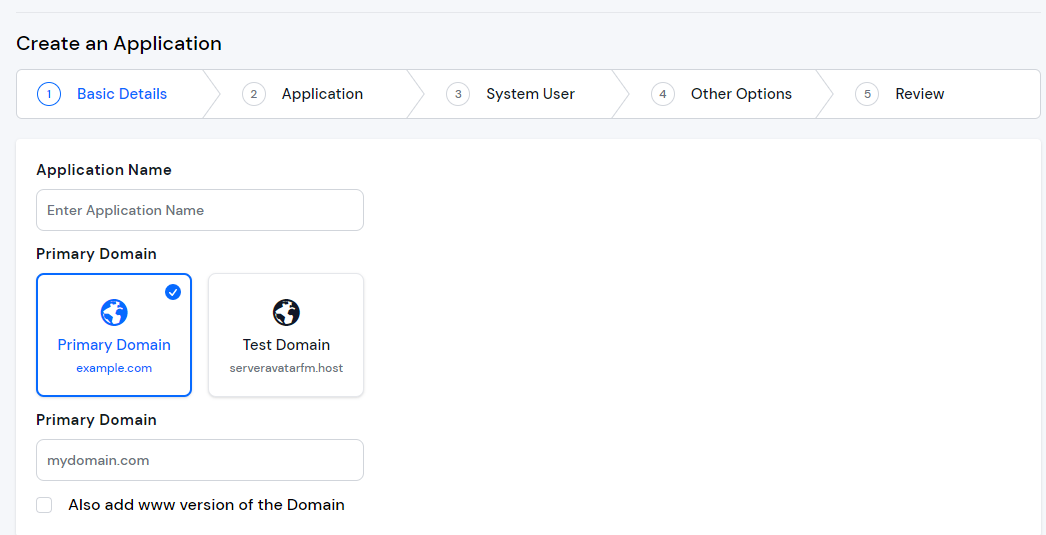
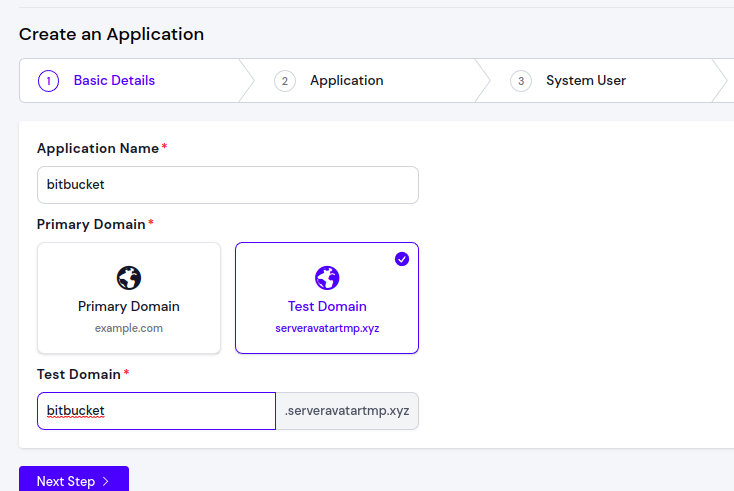
Step 5: Basic Details
- Enter the name of your application in the Application Name field.
- Choose whether you want to use a primary domain or a test domain in the Domain field. If you select a test domain, you can change it later to a primary domain.
- Click on the Next button.
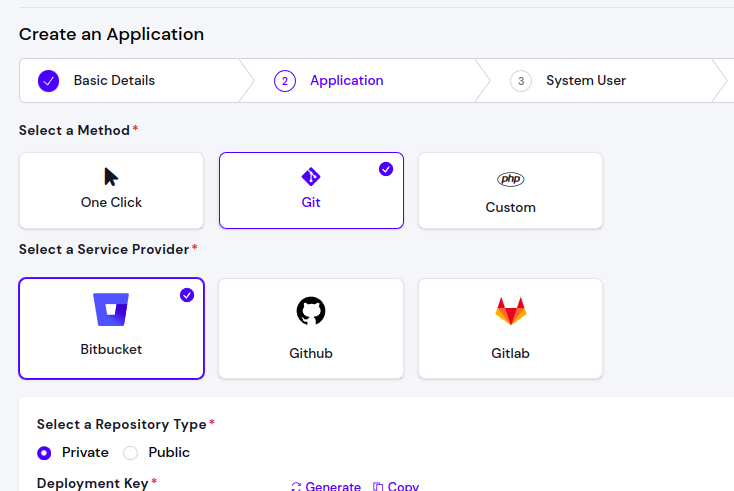
Step 6: Application
Choose the method Git to deploy using git.
In the Git method, you have to select the Git provider as Bitbucket.
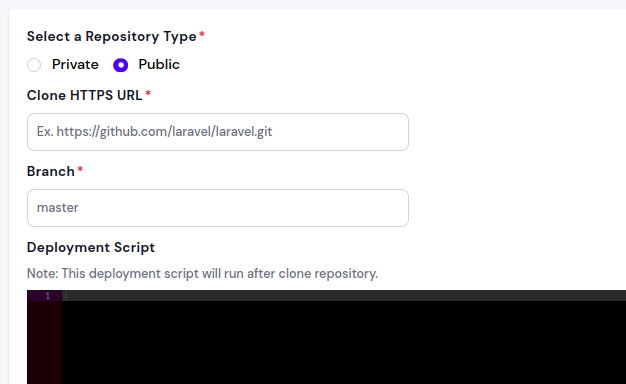
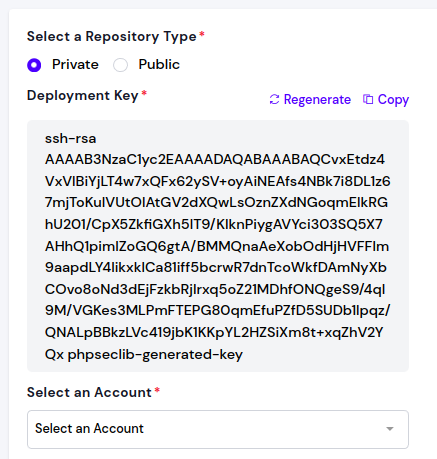
If your repository Type is Public, then enter Clone HTTP Url, Branch. If you want to run a script after cloning your repository, then write a deployment script. Then click on the Next Step button.
If your repository Type is Private, then first, you need to Generate SSH key for deployment and Copy that SSH key to put into the Bitbucket account.
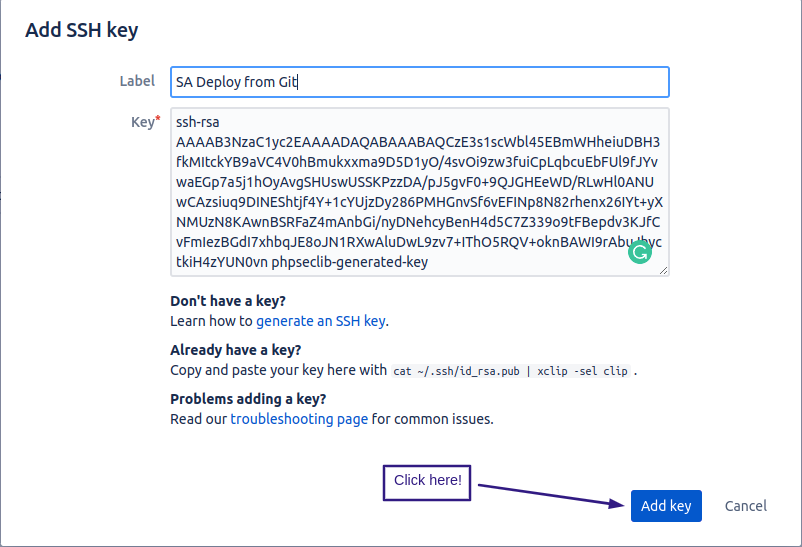
Login into your Integrated bitbucket account, and Navigate to Personal Settings → SSH keys → Add key.
Enter Label and Paste your Generated ssh-key as shown in the image below.
Then click on the Add key button.
After that, select Integrated account, then select your repository Repository and choose the desired Branch. If you want to run a script after cloning your repository, then write a deployment script.
Click on the Next Step button.
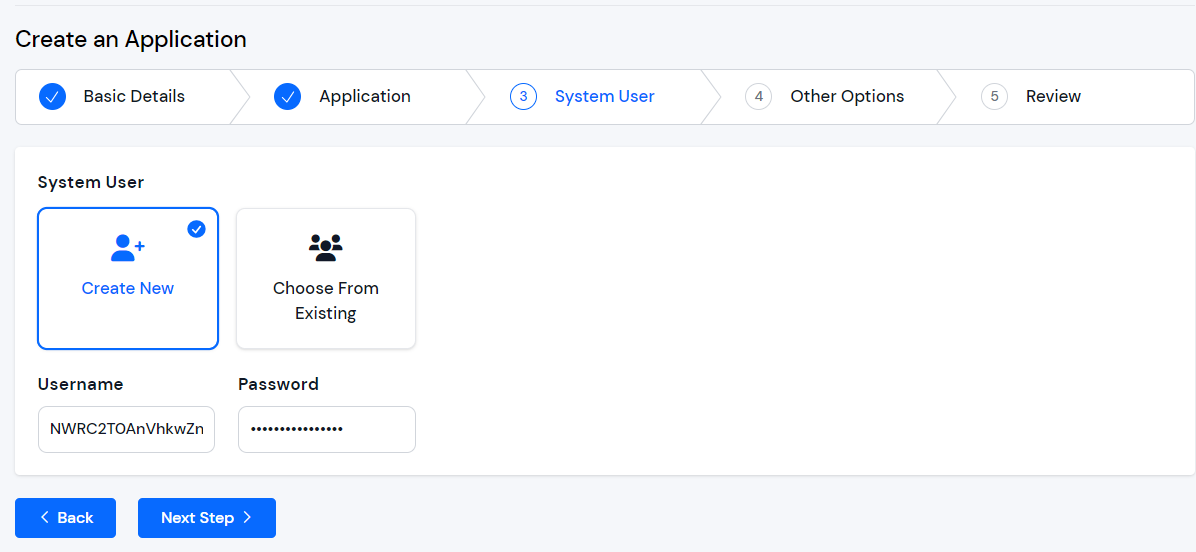
Step 7: System User
When creating a new application in ServerAvatar, you can either create a new system user for the application or use an existing one. A system user is a user account created on your server, which is used to manage files and permissions for your application.
Step 8: Other Setting
In the Basic Settings section of creating an application in ServerAvatar, you can select the PHP version for your application. ServerAvatar supports multiple PHP versions ranging from 7.2 to 8.2. You can choose the desired PHP version for your application.
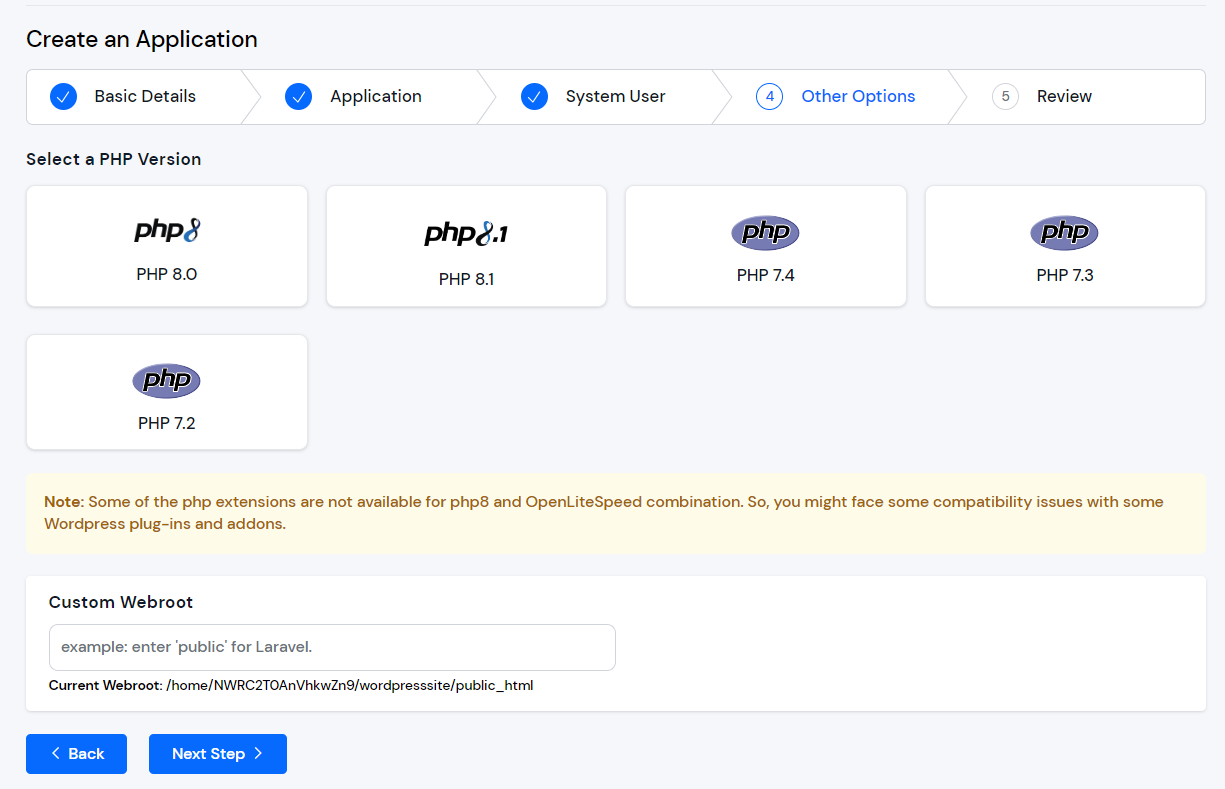
You also have the option to specify a custom web root path for your application. By default, ServerAvatar sets the web root path to "/public_html" for your application. However, if you want to set a custom web root path, you can do so by entering the desired path in the "Webroot" field provided. This can be useful if you have specific requirements for the directory structure of your application.
Step 8: Review
After completing the previous steps, the user will be directed to the review page where they can review all the details they have entered for the application. This includes the application name, primary domain, test domain, application method, system user, PHP version, and custom web root path.
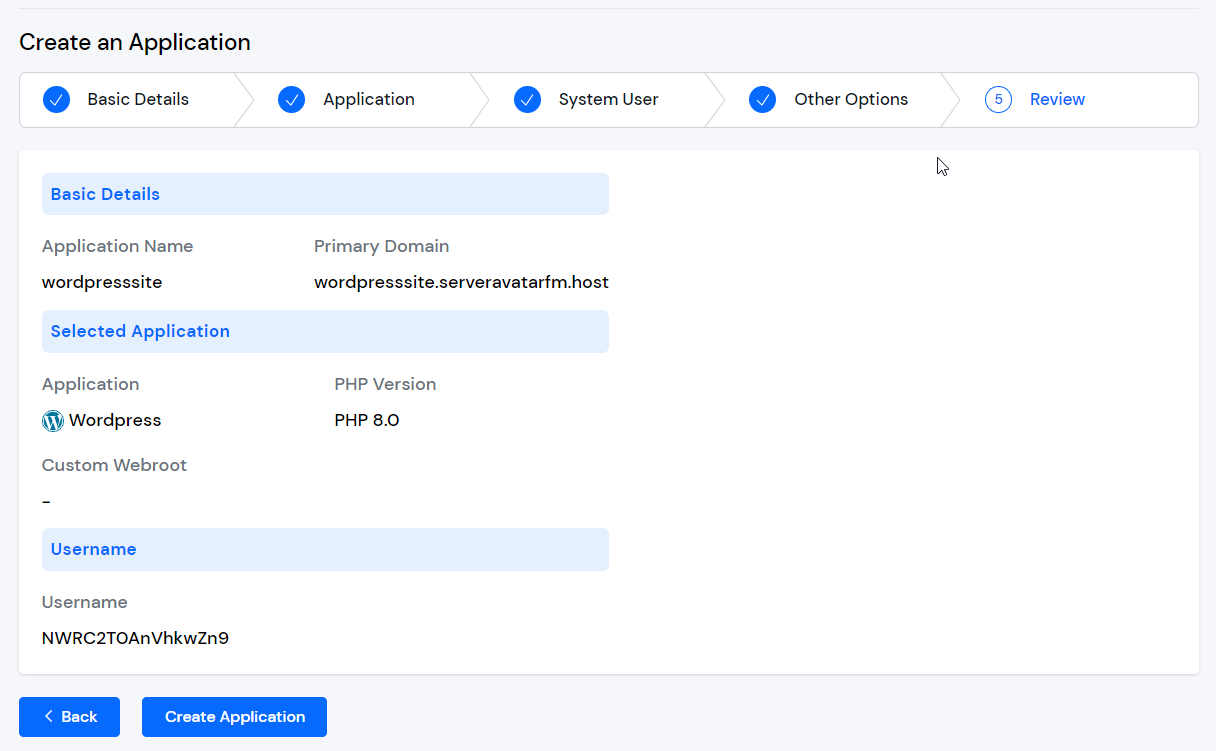
If any changes are required, the user can go back to the respective sections and make the changes. If everything looks good, they can click on the "Create Application" button to create the application. Your website should be live in the next 10-15 seconds. Once your application is installed, you will be redirected to an application dashboard from which you can manage the application.
You can not perform Enable Auto Pull if your repository Type is public.
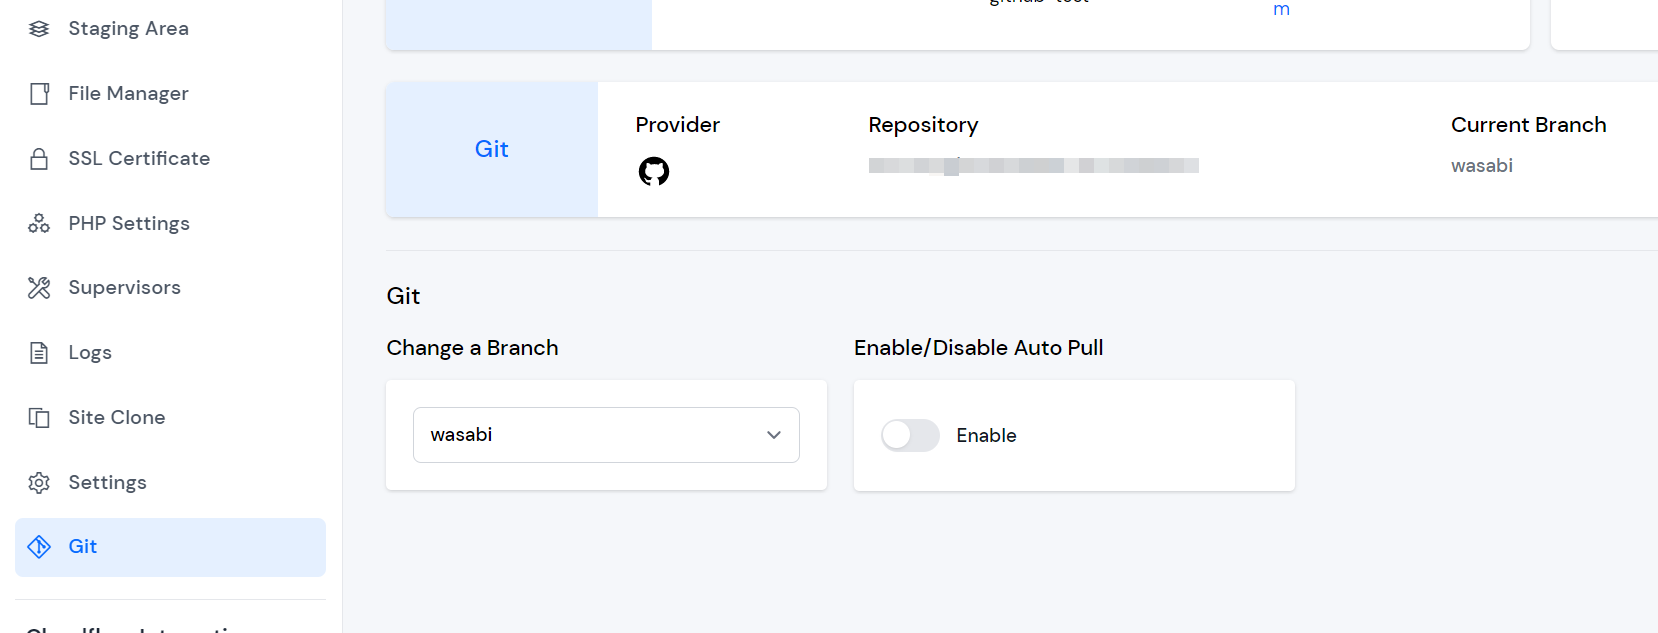
Step 9: If you want to Enable Auto Pull, then Navigate to Created Application Dashboard → Git.
- Then click on Enable, as shown in the image below.
- After that, Copy Webhook URL.

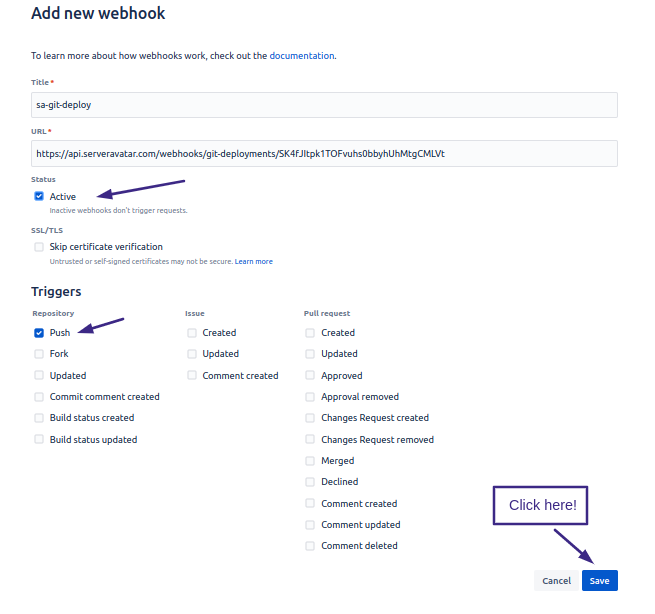
Login to your Integrated bitbucket account, and In your Selected repository, navigate to Repository settings → Webhooks → Add webhook, and use the following settings:
- Title: Enter title
- URL: Your Copied Webhook URL
- Active: Check
- SSL/TLS: Uncheck for Skip certificate verification
- Triggers: Repository push
Click Save to save your settings, and the request should start working.
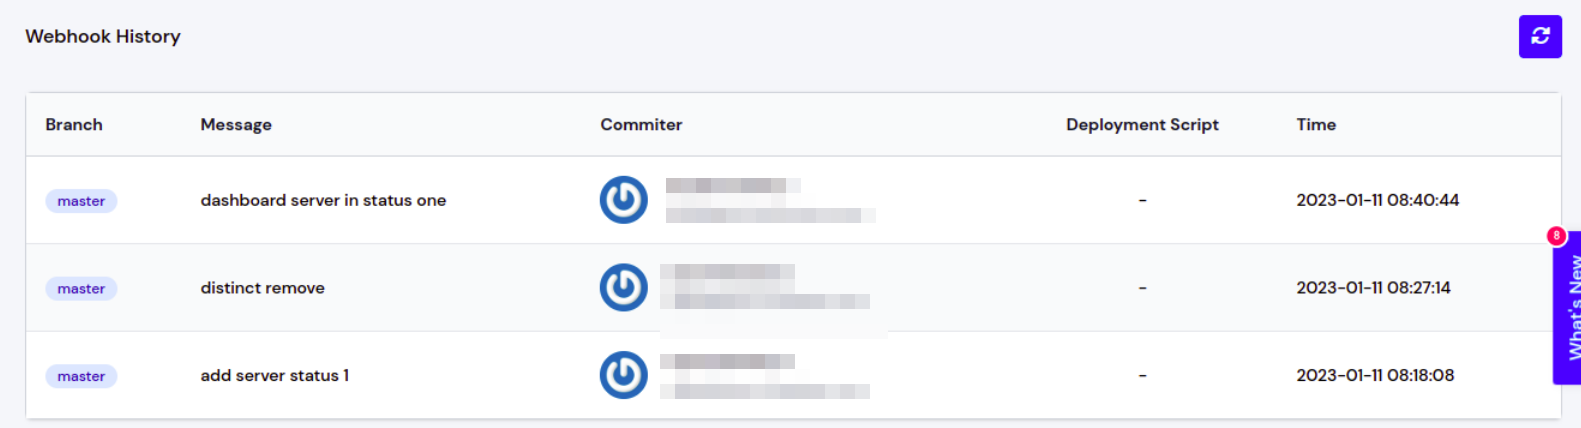
You can see your Request logs as shown in the image below and click on Enable History.
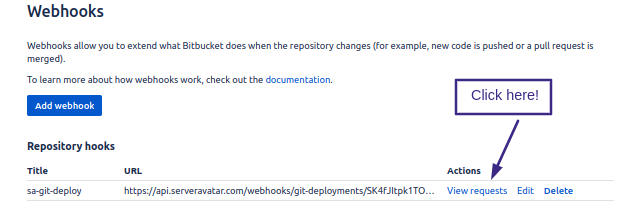
Step 9.1: You can view your commit history in the Webhook History section.
Step 10: If you want to Checkout branch, click on Change Branch aand select the branch you want to checkout.

Step 11: To Run Custom Script after a pull request, enter the script in the Deployment Script section and click Save.
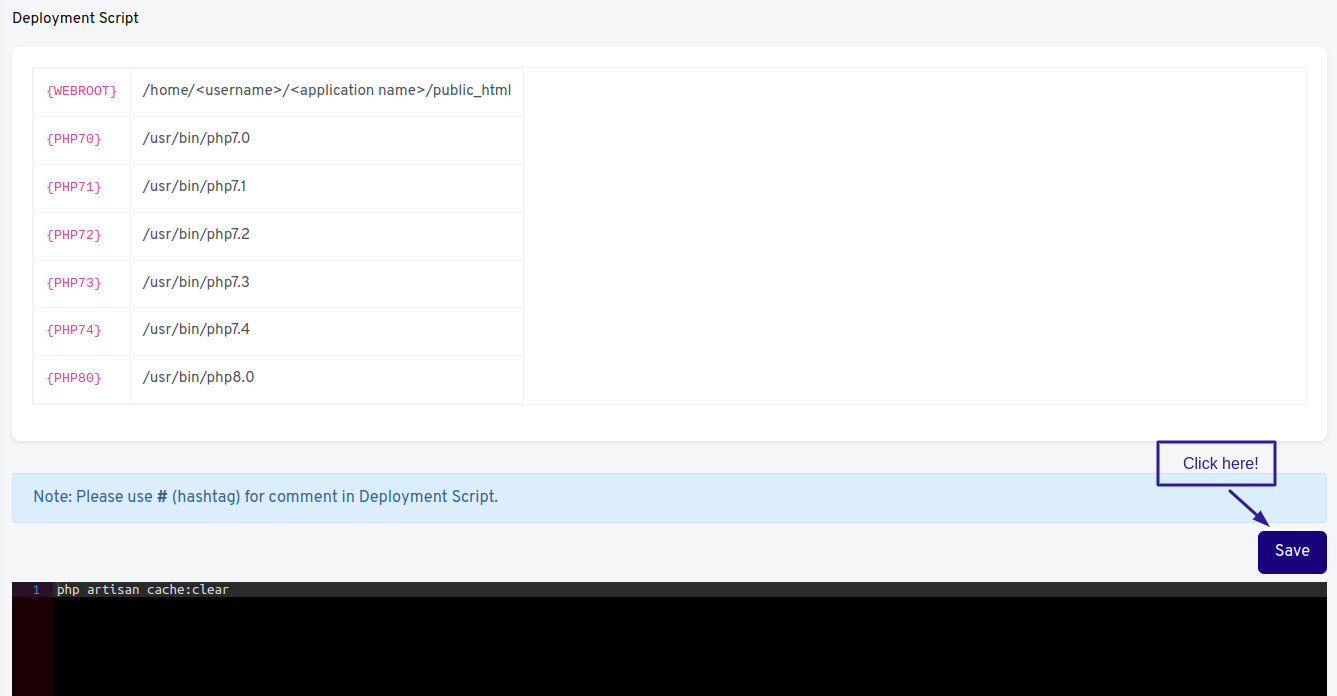
- If you want to run a Custom Script when the webhook receives a push request, you can write a script to perform the necessary commands in the Deployment Script section.
Please use # (hashtag) for comment in Deployment Script.
The script will run inside your application's root folder. If your deployment script includes composer and PHP commands, it will use the default PHP-CLI. Use a replacer to run a script using a different PHP version.
Replacer
The replacer allows you to specify a particular PHP version for the deployment script to use.
For example: {PHP70} artisan cache:clear
Will be translated to: /usr/bin/php7.0 artisan cache:clear
You can always type the full path to the PHP version if you don't want to use the replacer.